This item is in stock and ready to ship. Please allow for 24-48 hours for this item to leave our warehouse
Product Description
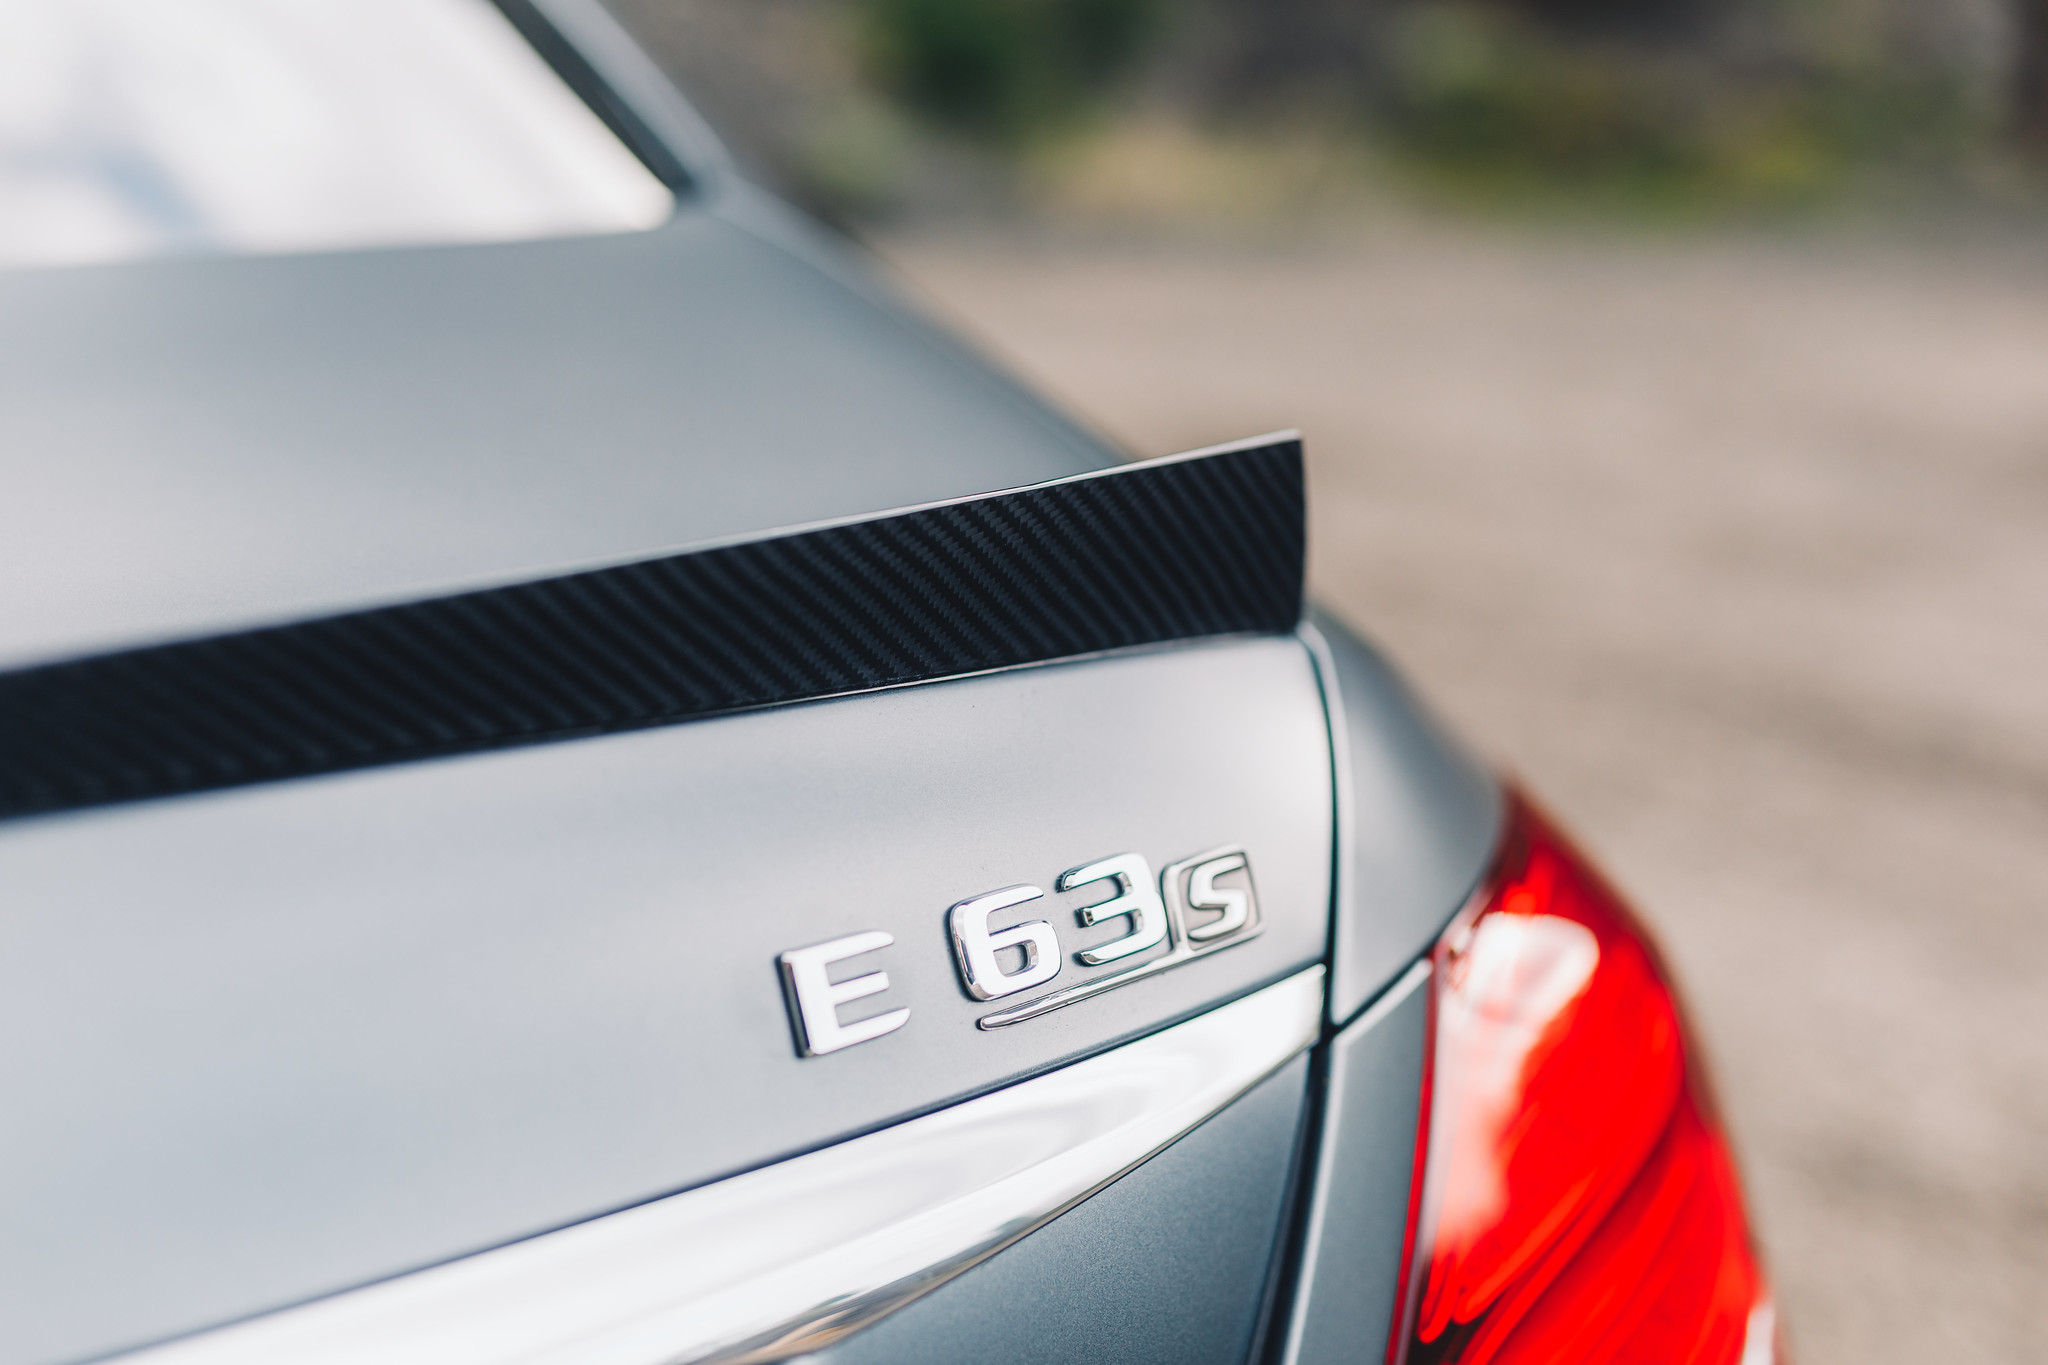
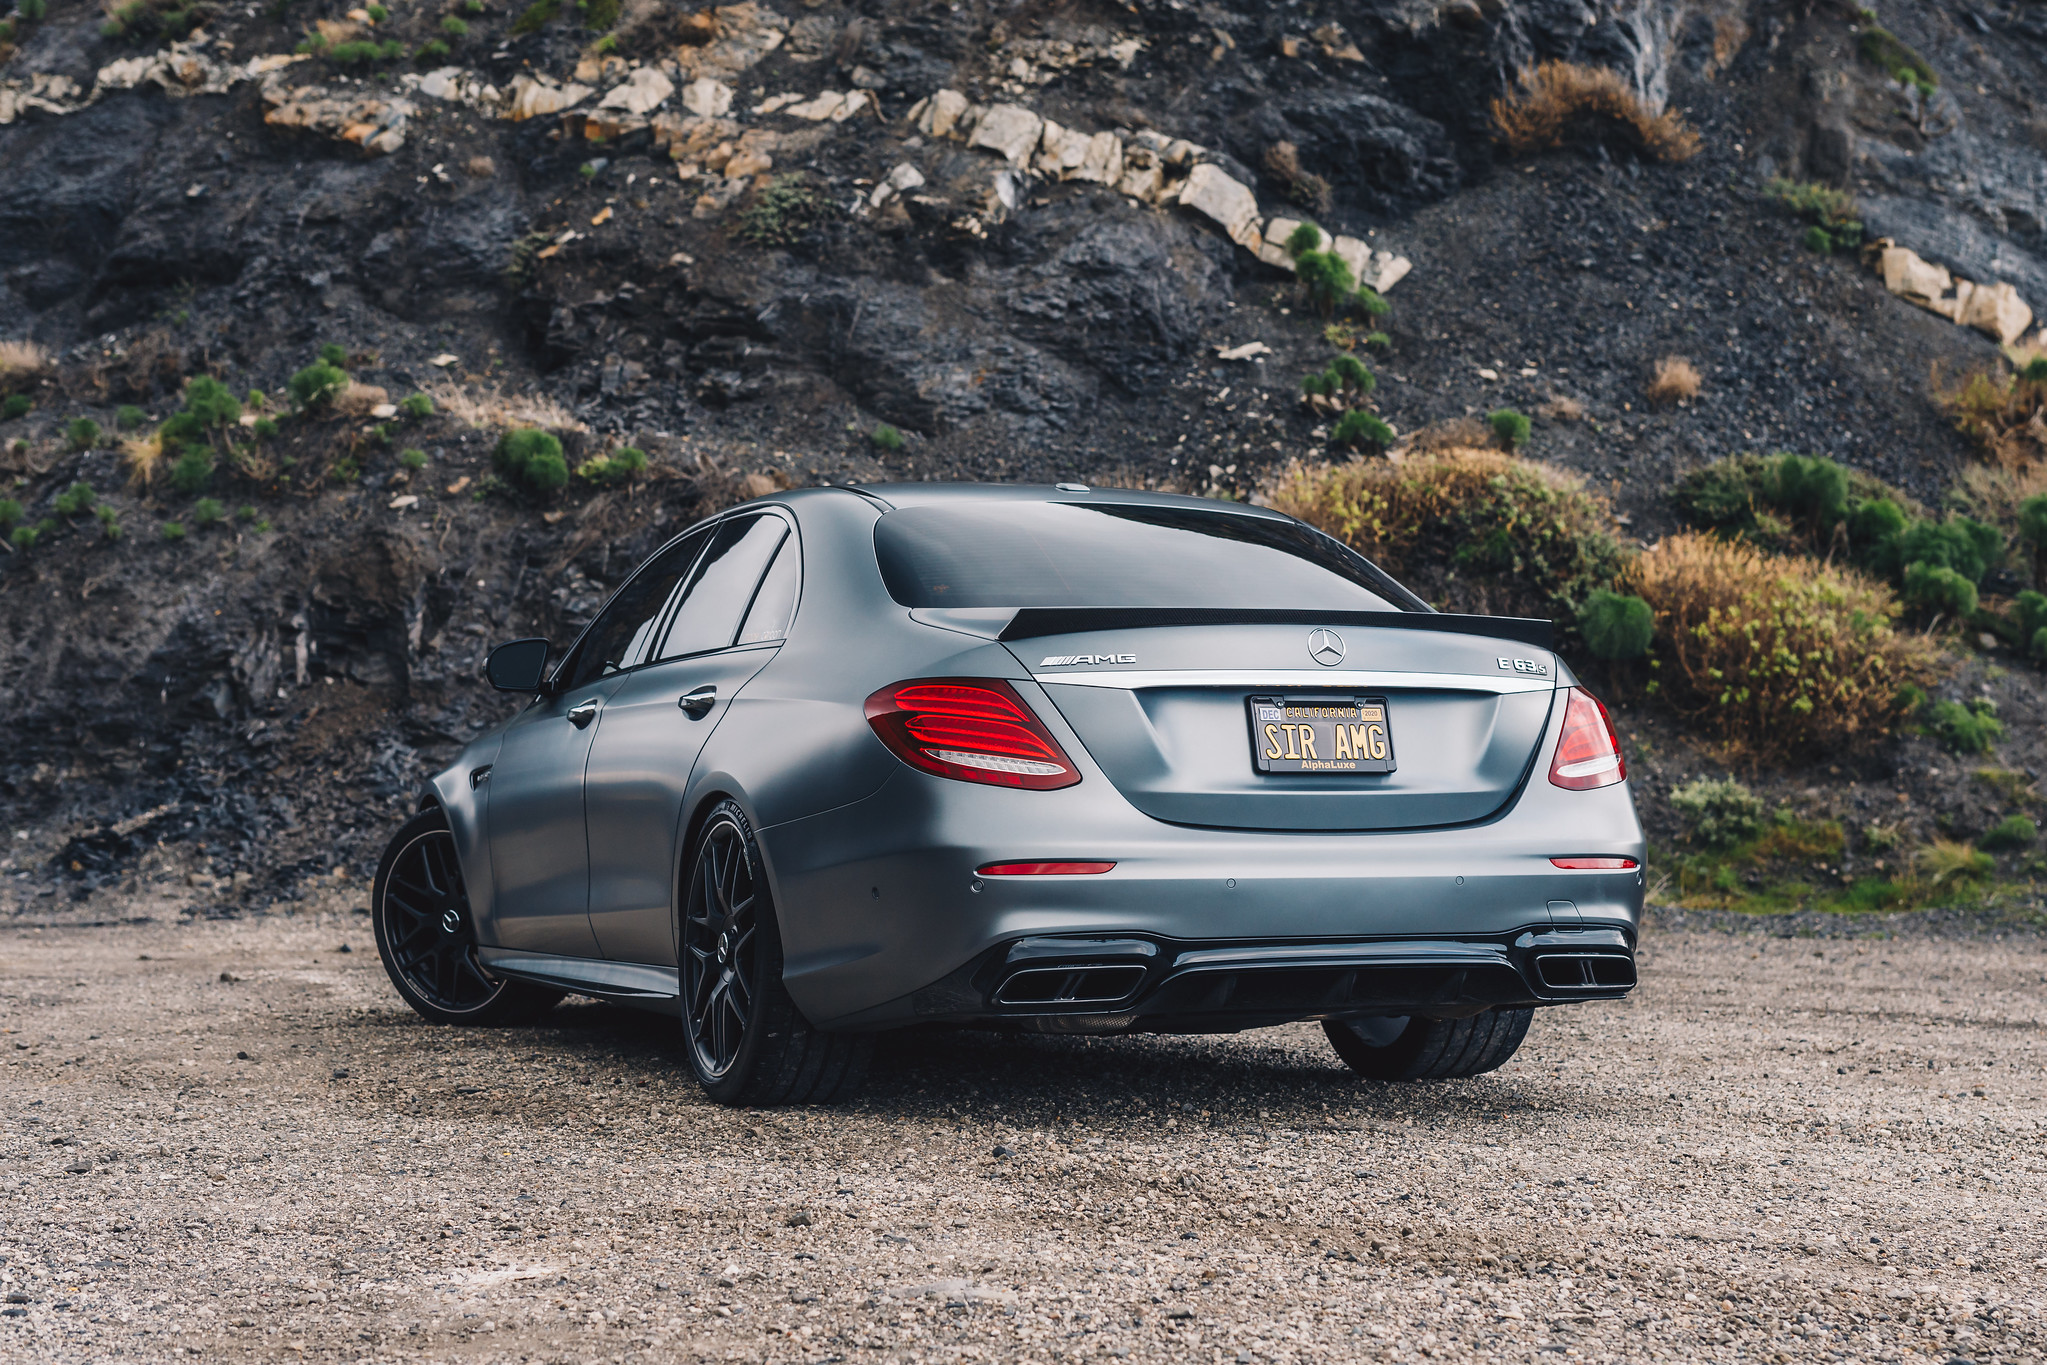
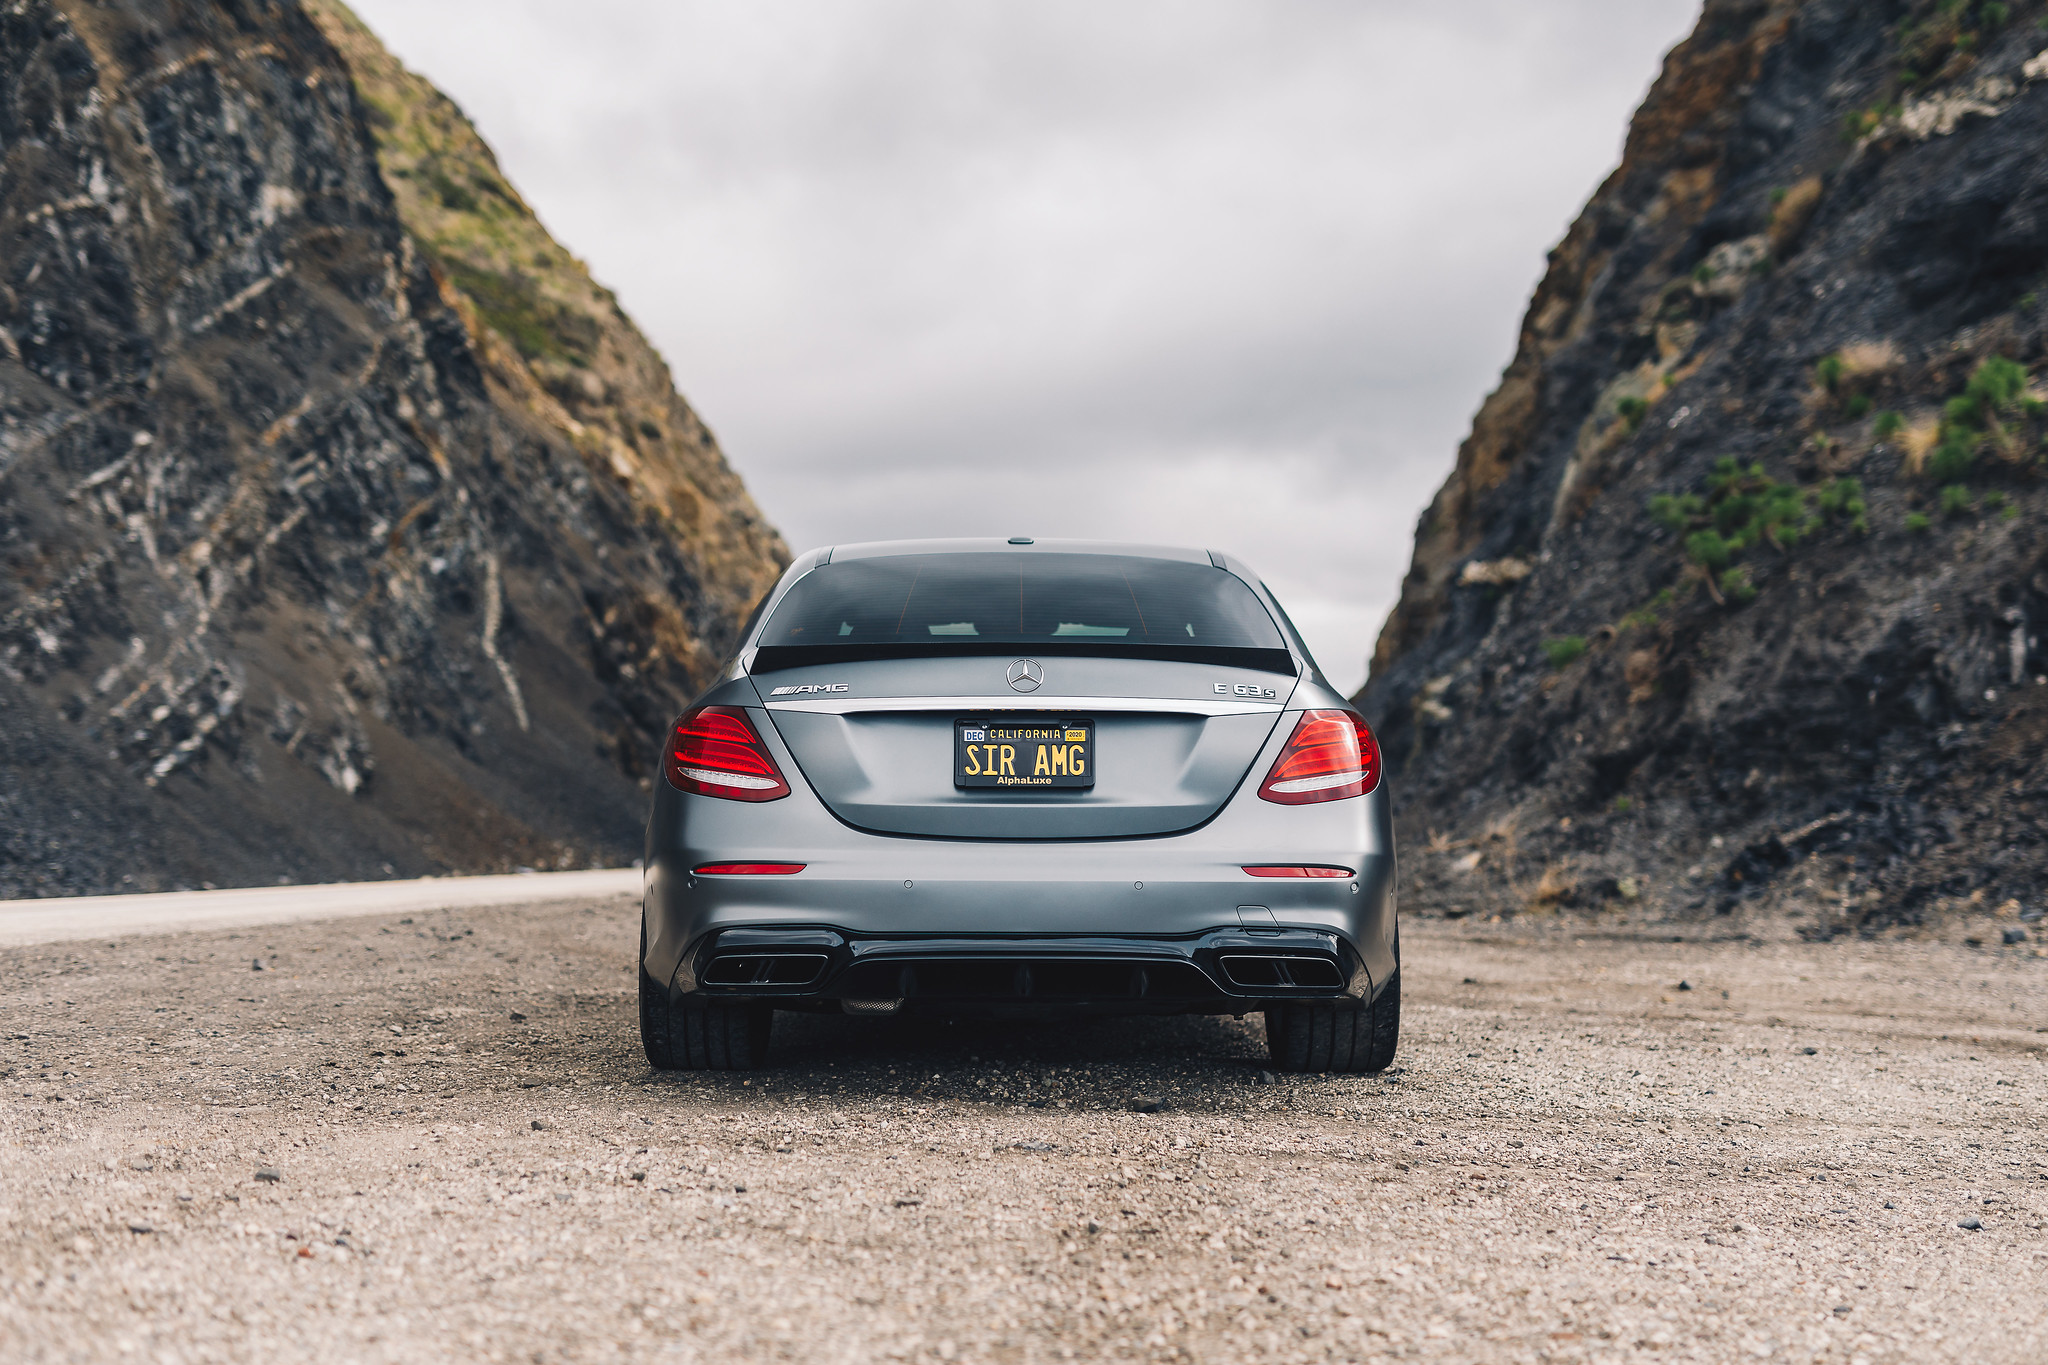
Drawing inspiration from the oe. Edition 1 E63s Trunk Spoiler, we are happy to introduce our second Bootlid Spoiler for this platform. Simple, yet understated in design, the sharp and slender styling queues synchronize with the hard-angles of the E63(s)’ characteristics. Whether you are after an aggressive look or an OEM+ vibe, our Trunk Spoiler does a great job blending in between both approaches.
Technical Specifications
Weave
2x2
Finish
High Gloss UV Protected Clear Coat
Construction
Pure Carbon Fibre
Process
Pre-Preg
- Uninstall the OEM trunk spoiler. Make sure that the mounting surface is cleaned thoroughly afterward.
- Test fit the spoiler prior to installing.
- Line up the spoiler on the trunk and mark its proper positioning with painter’s tape.
- Peel the red backing of the 3M tape approximately 2 inches from either side of the spoiler.
- Place the spoiler on the car without removing all of the red backing of the 3M tape.
- Once you have the spoiler aligned into the correct position, carefully remove the red backing of the 3M tape while the spoiler is simultaneously being pressed firmly into place. It is recommended that two people complete this step.
- Apply pressure to the spoiler after it is installed with painter’s tape, with extra attention given to the corners. It is recommended that you do not drive the car until the spoiler is given time to solidify firmly to the trunk.
Product Description
Drawing inspiration from the oe. Edition 1 E63s Trunk Spoiler, we are happy to introduce our second Bootlid Spoiler for this platform. Simple, yet understated in design, the sharp and slender styling queues synchronize with the hard-angles of the E63(s)’ characteristics. Whether you are after an aggressive look or an OEM+ vibe, our Trunk Spoiler does a great job blending in between both approaches.
Technical Specifications
Weave
2x2
Finish
High Gloss UV Protected Clear Coat
Construction
Pure Carbon Fibre
Process
Pre-Preg
- Uninstall the OEM trunk spoiler. Make sure that the mounting surface is cleaned thoroughly afterward.
- Test fit the spoiler prior to installing.
- Line up the spoiler on the trunk and mark its proper positioning with painter’s tape.
- Peel the red backing of the 3M tape approximately 2 inches from either side of the spoiler.
- Place the spoiler on the car without removing all of the red backing of the 3M tape.
- Once you have the spoiler aligned into the correct position, carefully remove the red backing of the 3M tape while the spoiler is simultaneously being pressed firmly into place. It is recommended that two people complete this step.
- Apply pressure to the spoiler after it is installed with painter’s tape, with extra attention given to the corners. It is recommended that you do not drive the car until the spoiler is given time to solidify firmly to the trunk.